Replicating an heirloom ring warts and all
12th February 2022 - Customer Location: Cairns
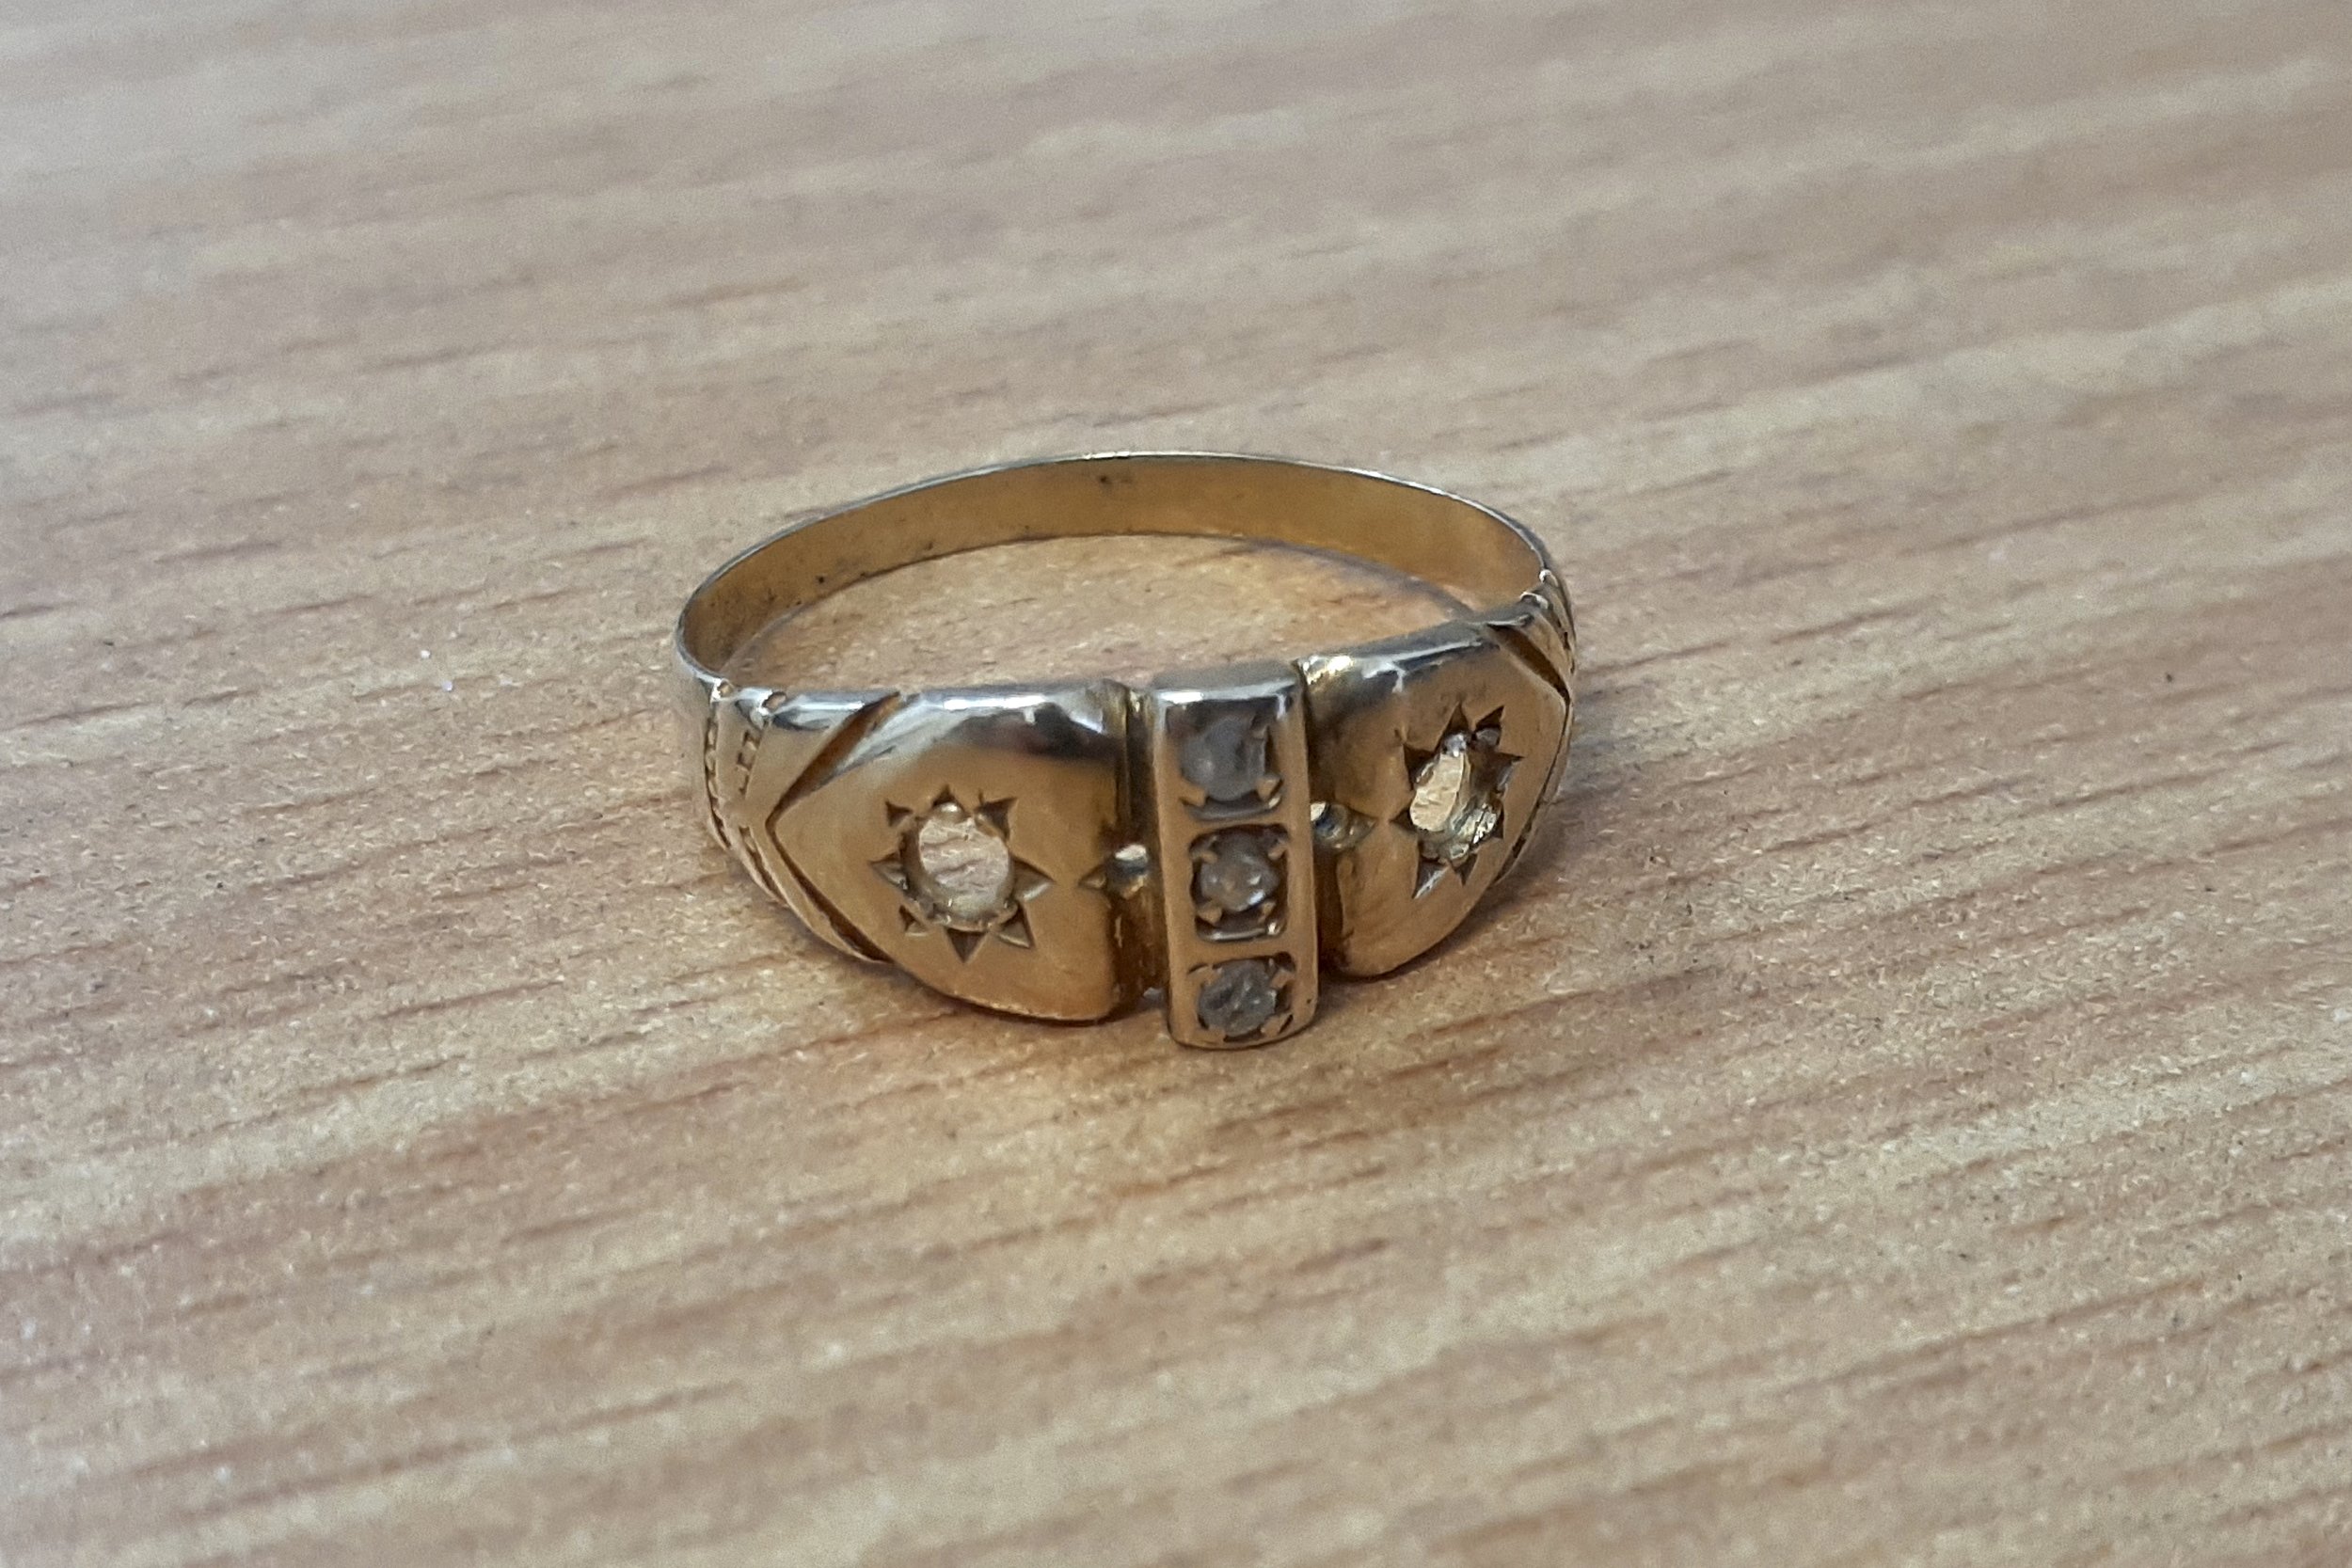
This ring is a very precious heirloom. It belonged to my customers late mother and she would dearly like to wear it. From this angle you can see that at some stage another ring was worn beside it and over time the side of the hearts has been flattened out.

The main issue was that the ring was too small for my customer. With the band already deformed from being too thin it would not be possible to effectively resize this ring. It is actually so thin that it is dangerous to wear in my opinion.

Inspecting the inside of the ring also reveals how much of the side of the ring has rubbed off over time as it rubbed against the ring worn next to it. Notice how the gemstone holes are almost exposed.
To start the restoration process I removed the rubies in the shoulders first. For the next step I decided to leave the rough diamonds set for now. I will reveal why a little bit later on.
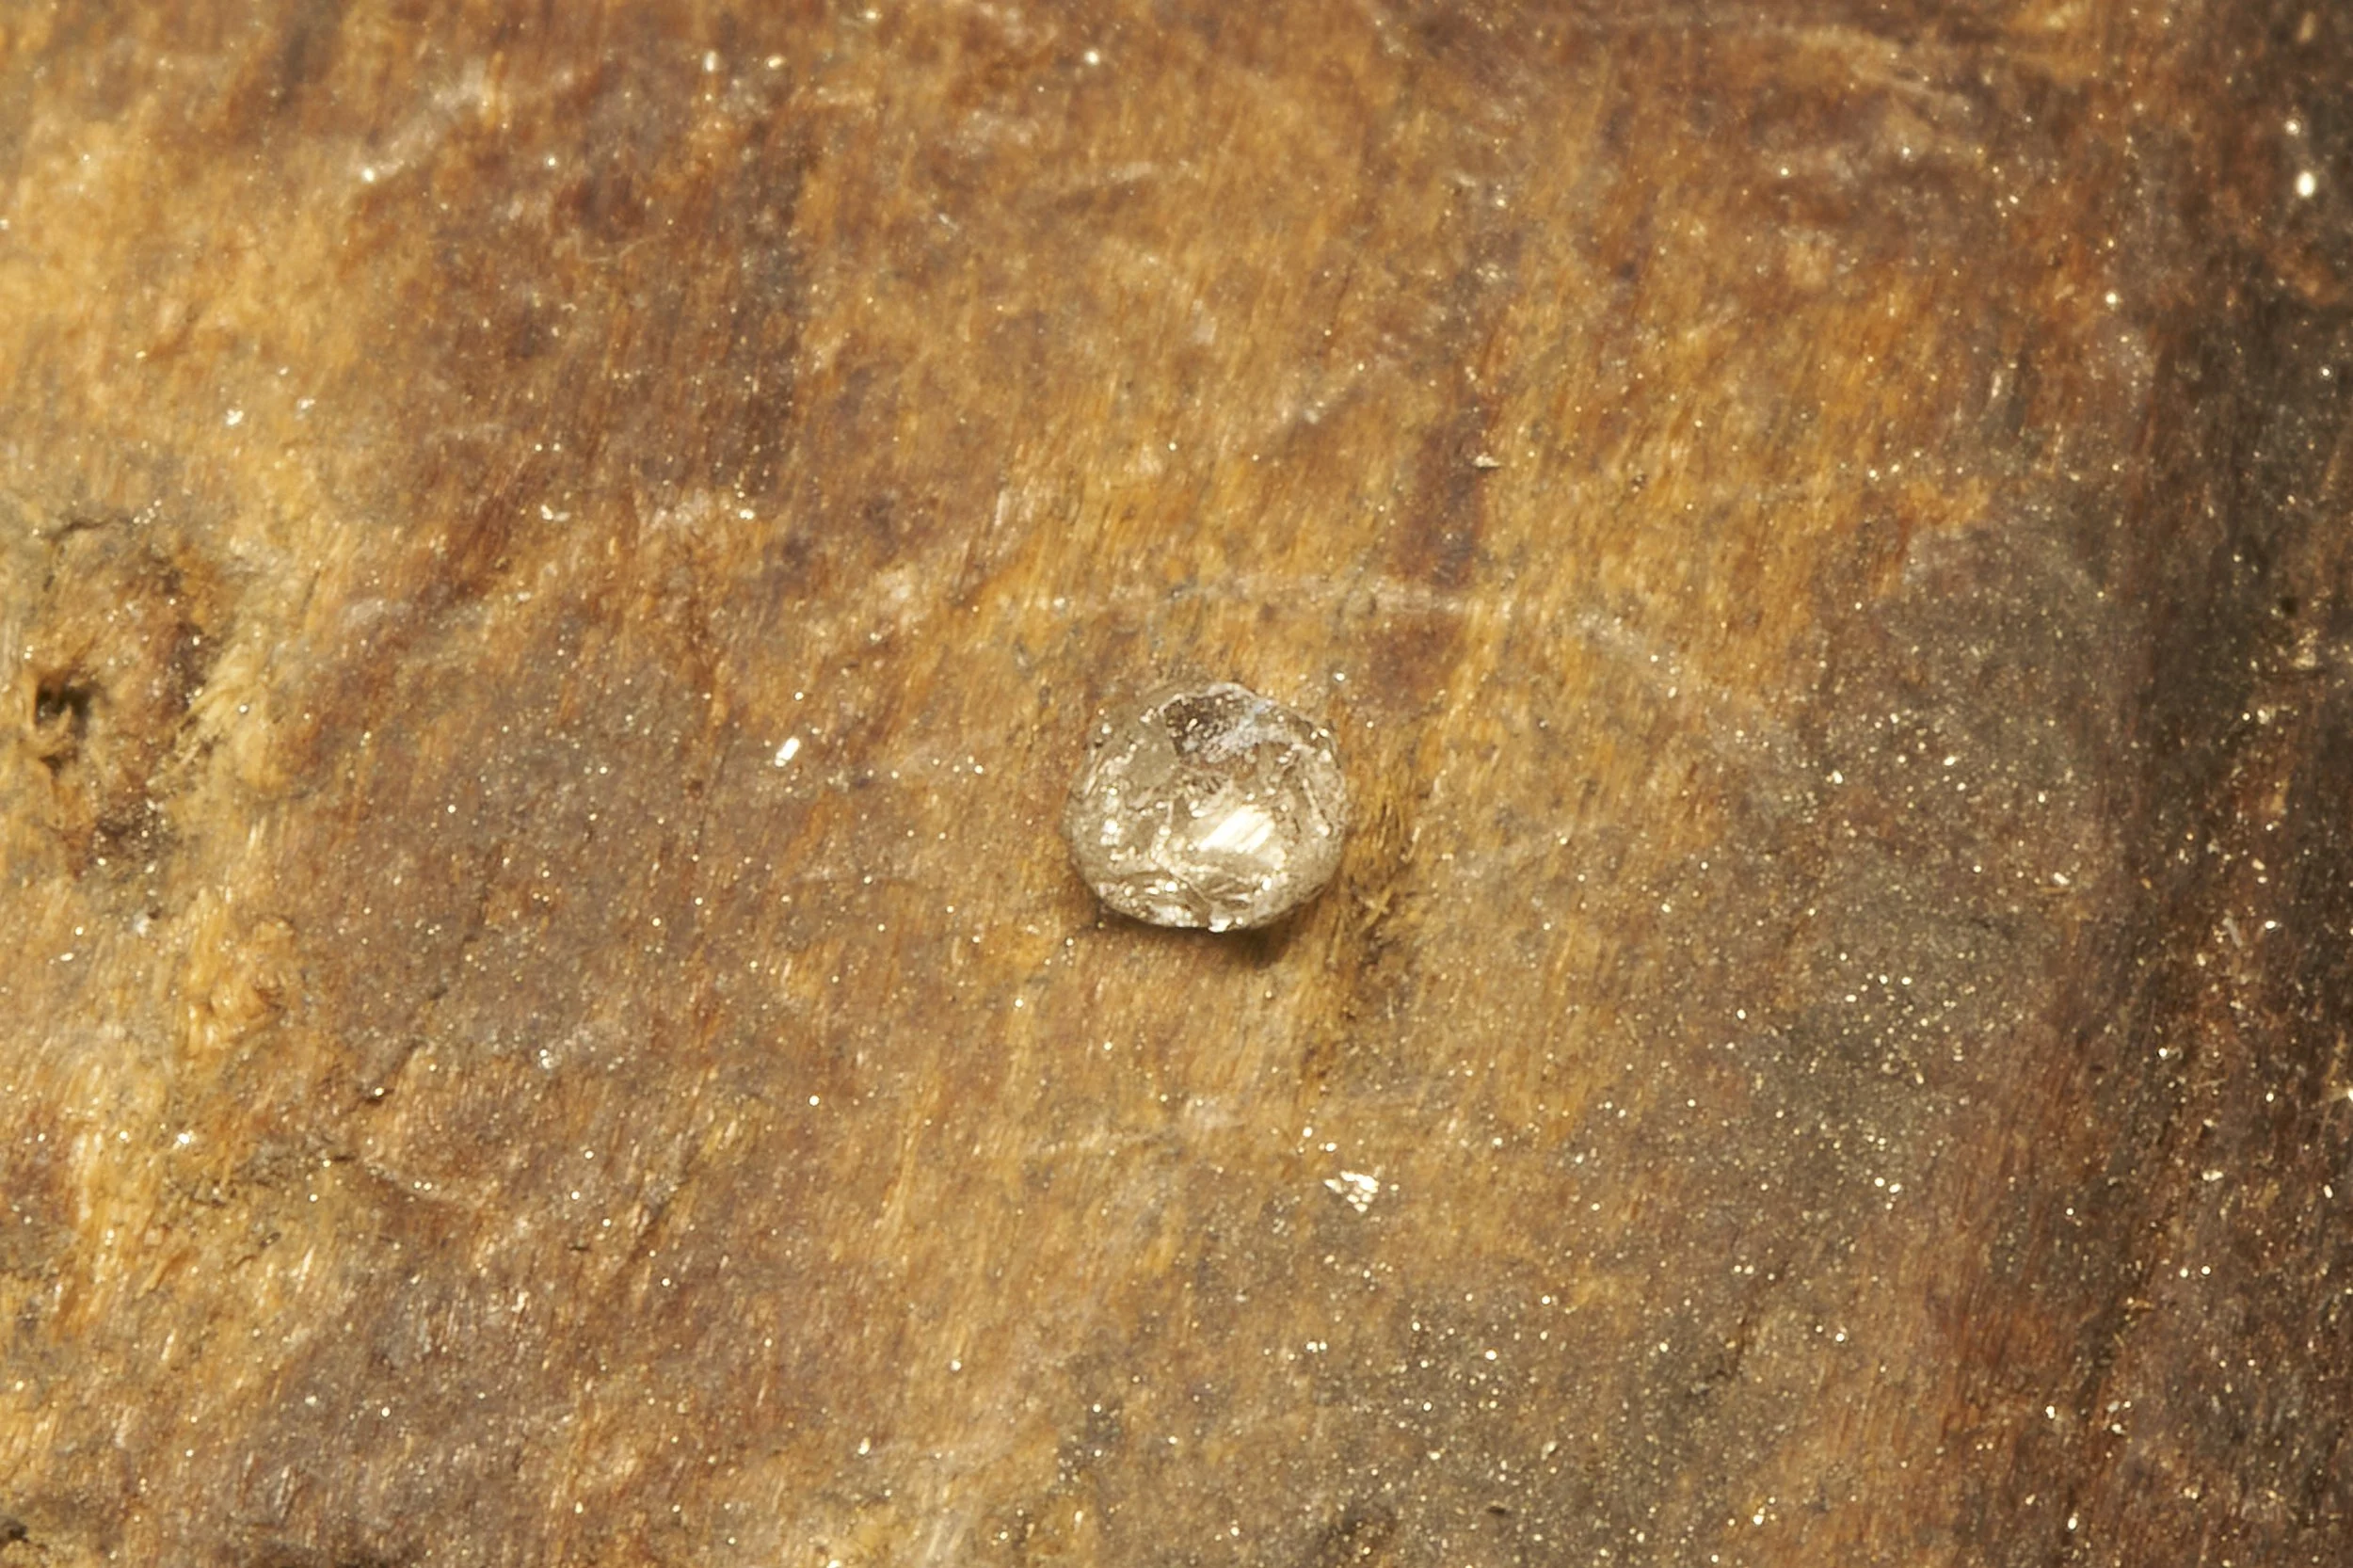
The 3 diamonds in this ring are actually pieces of uncut rough. Very cool and I have seen this before in one or two rings.

What I want to do is take a pattern of the ring to retain as much of the remaining detail in order to restore that detail to what I think was its original state.
To do that I cut the ring at the base and then attached it to a silver liner. This will add thickness to the ring when I take a mould of it.

After the liner was attached I trimmed it back but still left a small section protruding from the side. I would use this edge later to build the width back into the ring using wax.

Once I add a sprue to the ring and gave it a quick clean I am ready to take a mould/pattern of it.

The ring is placed into an aluminium frame and vulcanising rubber is packed around it. The photo above shows it about half packed.

Heat and pressure are applied to the rubber for about an hour. After that time the rubber is cured and ready to cut open.

A scalpel is used to cut the rubber open and the metal ring is removed leaving a cavity in the mould. You can now see why the sprue was attached. It is used as the entrance for the wax during injection.

With the metal now removed from the mould I seperate the silver from the gold so that the gold can be used in the new ring with some additional.
It is at this time that I remove the diamonds safely from the ring by destroying it to avoid any risk of damaging the diamonds.
You now see why I could not do this before moulding. This is the safest way to remove gems that are quite fragile or/and irreplaceable. The relatively mild heat of vulcanisation is no problem for a diamond.

A wax injector is used to fill that cavity with hot wax.

Once cooled it is removed from the mould and I can add more wax to the ring form to correct issues such as the edge of the ring.

With all the work in wax completed the ring is now ready to be lost wax cast. The first step is to attach it to a rubber base.

The steel tube/flask is slipped into the rubber base and investment is poured into once again enclosing the wax.

Once the investment has set the rubber base is removed and the flask is placed in a furnace for hours to remove all the wax from inside it.

When that process is finished I use centrifugal casting to force molten metal into the flask and a ring is formed in metal.

Lots of work with detail and setting went on once cast but I am going to skip that as this post is getting very long. Above is the restored ring.
One final comment about this restoration is that many of the imperfections that were in the design I made no attempt to correct. The whole idea was to replicate the original, warts and all.
Angles that were wrong, messy setting and shapes that were ill formed ……..most got left as is. With all its imperfection this restoration was an outstanding success.