Looks simple but not so much.
February 3rd 2023 - Customer location: Thursday Island, Qld
Harder to do correctly than it looks.
I was asked to make this pendant setting for a quite large baroque pearl. What seems like a simple task had a lot of thought put into it and steps to its creation. All of the design work for this regular customer was done via email.
Getting the proportions right

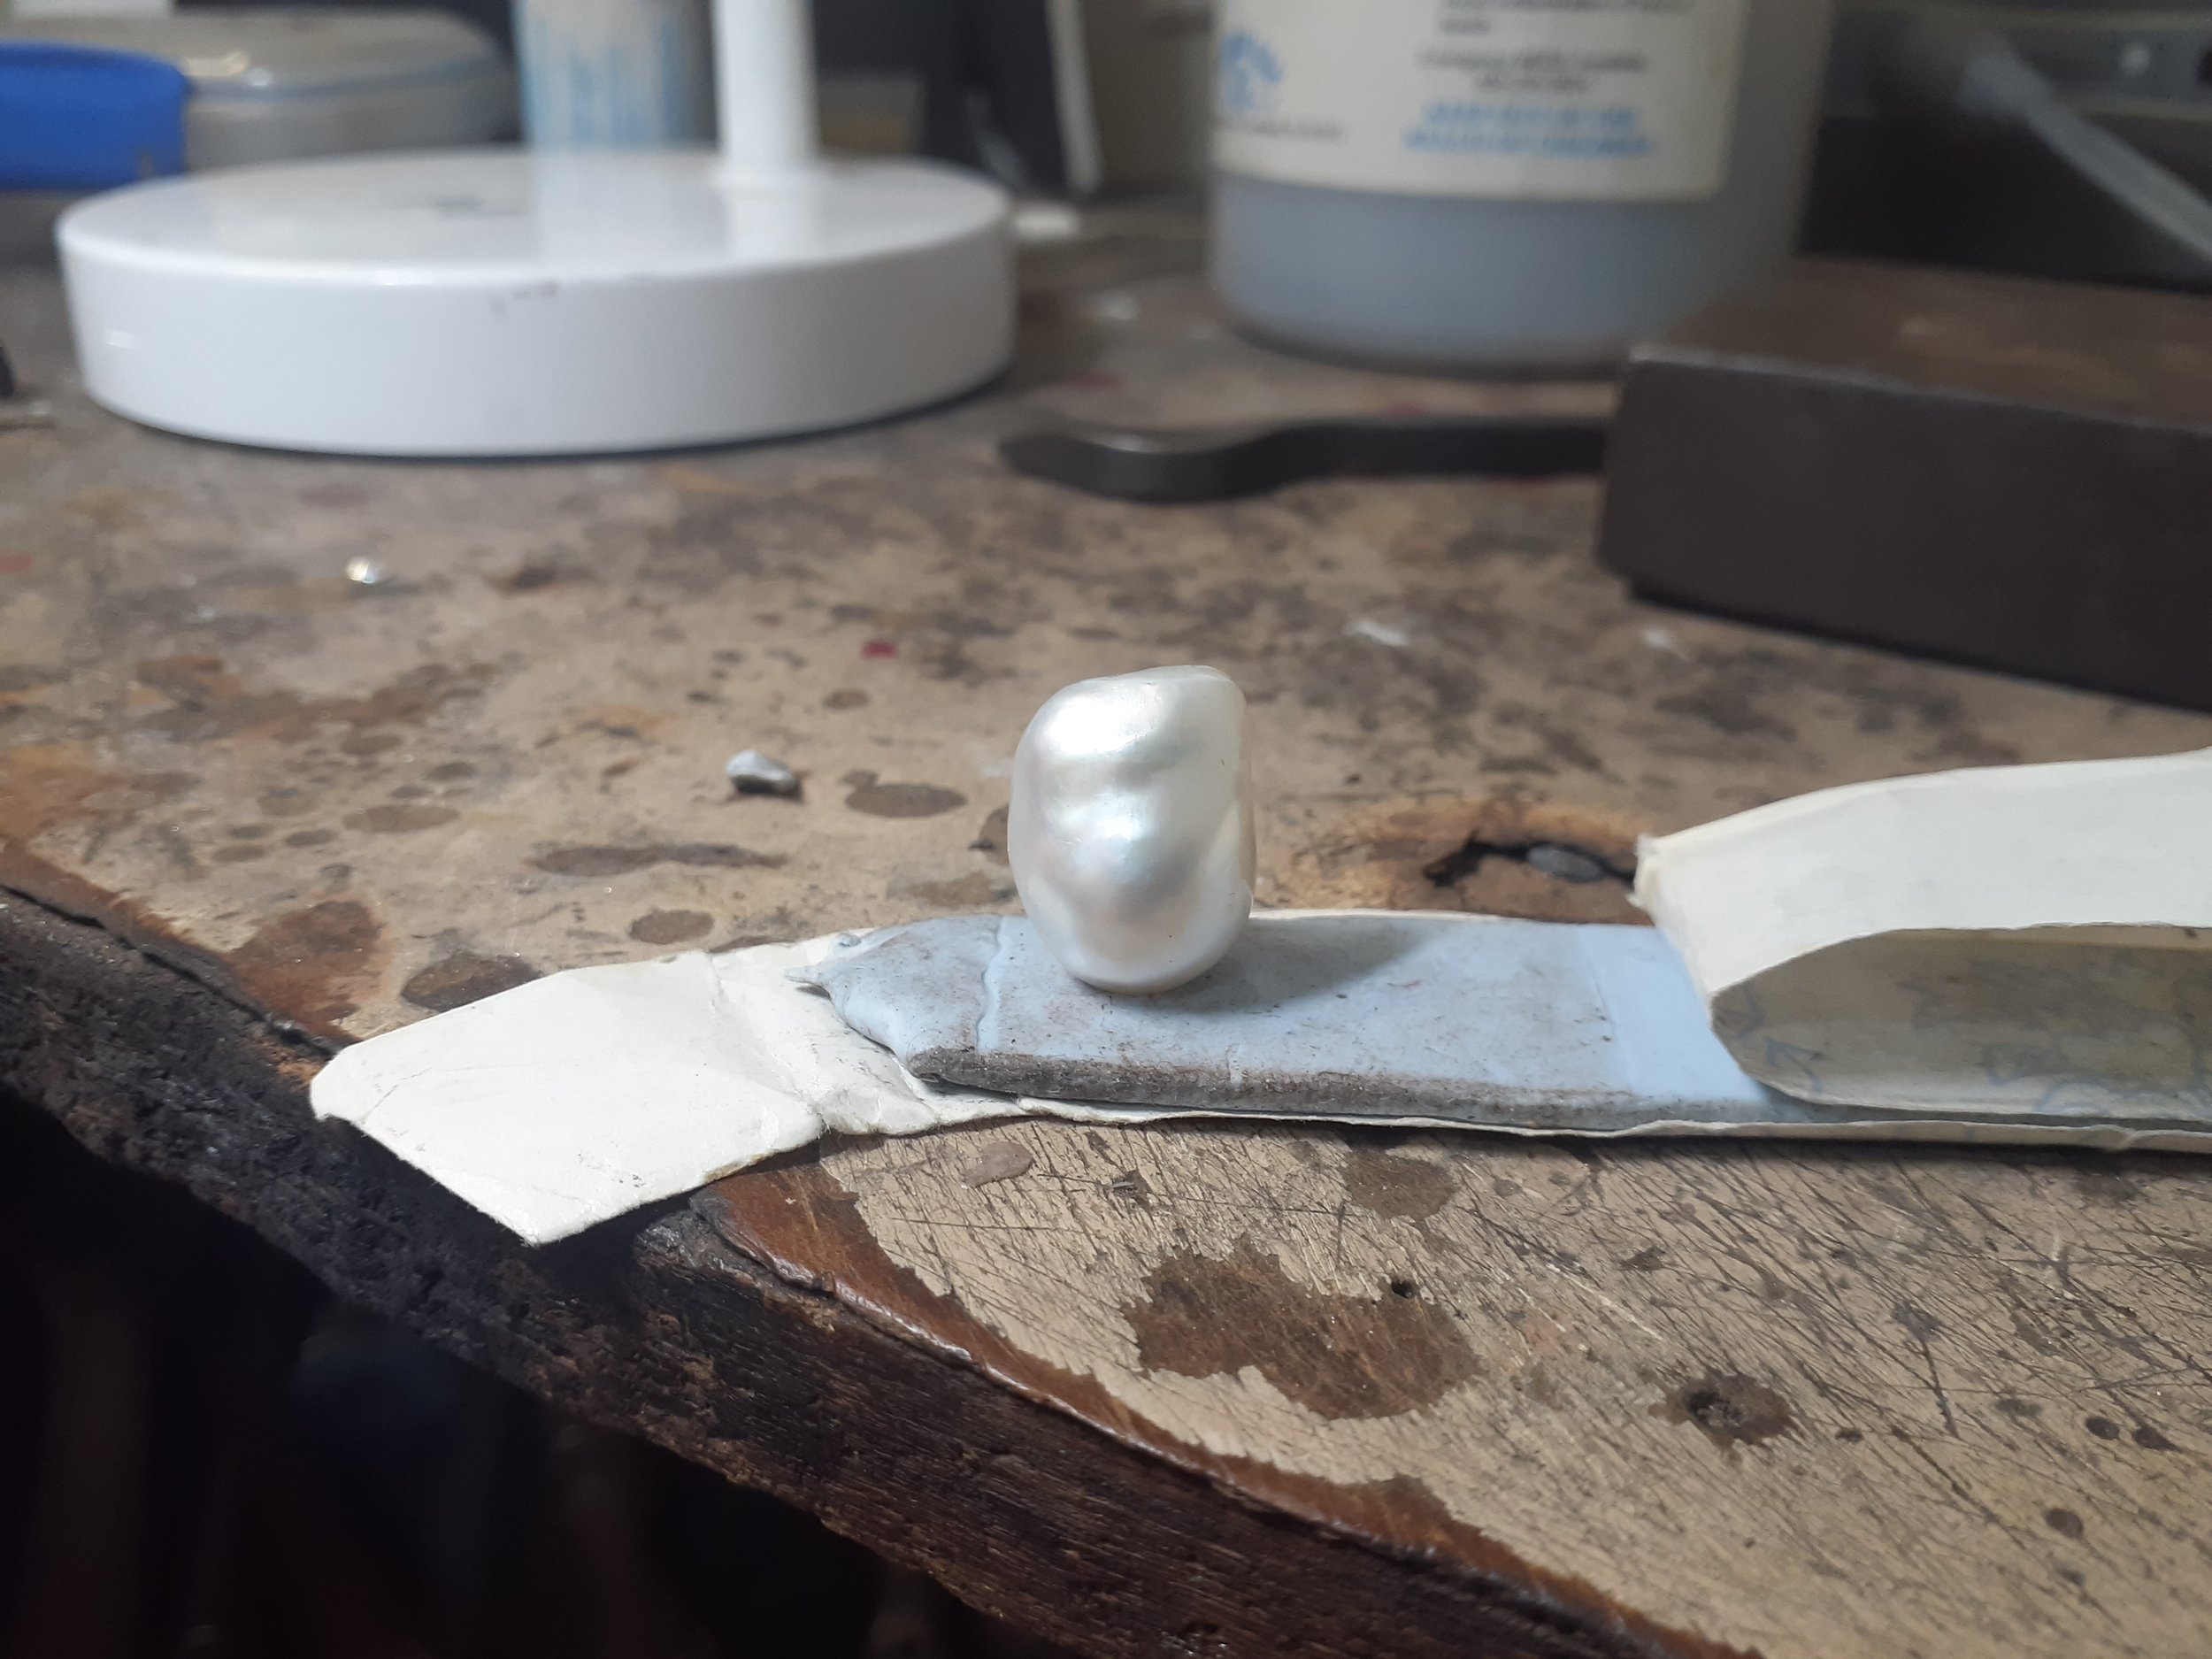
Deciding how to orient the pearl.
To the right in this photo above is a design sent to me by the customer that illustrated roughly the ratio of size for the diamond to the pearl that she wanted for this pendant.
When you face up a pearl for a pendant you are considering the shape and cleanest surface primarily. This customer selected the centre layout. That selection caused an issue.
Checking the design on the customers existing chain.
Before we did any more work, which would be specific to this design and pearl orientation, I needed to double check how the pendant would look on the customers existing chain to ensure no changes were to be made.
I used a photo she sent to me to scale in the pearl and pendant. Rough edit but it does the job and avoids any surprises later, like the chain not fitting the bail.
Trouble ahead
The round top of the pearl from the side, drilling and gluing here would lead to issues with a simple setting.
Now back to that issue I mentioned before. Wanting to wear the pearl in this orientation meant that simply drilling the pearl and glueing the setting on would not be possible. The contact was not strong enough.
Over time that setting could twist and or bend at the post either breaking the contact of the glue or snap the pin. I would need to add some support (contact area) down the back side of the pearl. Here I decided to initially work in wax for the creation of the pendant.

Before I could start in wax I needed to drill the pearl. To determine where to drill I first placed the pendant on blue-tac to get a better look. Once settled on a spot I drilled the top of the pearl.
Post inserted in the hole.
With a temporary post inserted in the top of the pearl I could now build the setting onto the pearl around it in wax.
Wax is so much easier
Diamond setting added to the top in wax.
First task was to attach the diamond bezel setting. The beauty of wax here is that I can fine tune the setting alignment to the pin by readily manipulating the wax. Make a change or mistake and you simply fill it with wax, trim back and start again. This sort of fine tuning is much harder in metal and can get messy.

Building up the back part fo the setting in wax. Phone back focused sorry.
To stop the glued on setting from spinning and or rocking and therefore putting pressure on the pin and the bond of the glue to the pearl, a plate would run down the back of the pearl. This would not be visible from the front.
It was now time to move from working in wax to metal.
Back to working in metal
The was setting after the lost wax casting process.
To convert the wax to gold the lost was casting method is used. You can read more about that in this article if you are interested. Skip down to the middle to a section titled “Turning that wax into Gold”.
Pieces ready for polishing and assembly.
Next I removed the setting from the casting tree and filed it up ready for polishing. I then made the bail for the chain to pass through. Most bails come to a point at the bottom but that straight section (circled in red) at the base of the bail is intentionally done for a very good reason. I do this for all my bailed heavy pendants and will explain why later.
Adding the jump ring and the white gold setting to the pendant.
The customer wanted the metal around the diamond to be white gold so I attached that to the front. I then added a plate to the top which would be shaped into the jump ring for the bail.
Plate attached to form the jump ring and marked for drilling.
I could have attached a jump ring made to shape out of wire but I prefer to use a plate and trim back after drilling. If I use this plate method I do not have to spend much time worrying about alignment. I can select where to drill the hole after it is attached and not worry about having soldered attached it in the wrong spot.
Wear = wear
Jump rings worn down by friction over time.
Now to explain why I make the bail as I do. Over time friction in moving parts of a piece of jewellery causes the metal to wear done like above. The more metal there is the more time before it is worn out. You can read about this issue in more length in the article linked below.
Article: Wearing until failure
The pin method used for the bail.
By not bringing my bail to a point at the base and using the pin style I can create the jump ring deeper. This gives far more metal to wear away and also stops the pendant from spinning horizontally as much at this joint. This prolongs the time before a repair is needed to this area.
Back to making the pendant
The setting all joined together ready for setting.
With the pendant all joined together I could now trim it up and give it a first polish. It was now time to set the diamond.
The pendant in setting shellac.
To make it easier to set the pendant setting shellac is used. Heated up the pendant can be placed in it. You then slightly heat the pendant and the shellac bonds to the surface. Once cooled it turns hard and the setting can be done.
When finished gentle heat is applied until the pendant can be removed and to clear away any excess shellac the pendant is soaked in methylated spirits.
Turning grey bright white
Astronomically expensive Rhodium plating solution at about $3300 for this little bottle.
A lot of two tone jewellery sold in the jewellery chains is just rhodium plating over yellow gold. For this pendant we have however added a white gold plate to the front for the setting and done it properly.
The reason we still need to rhodium plate the white gold is that the natural colour of almost all white gold alloys is greyish white. Plating that white gold with Rhodium (one of the platinum group of metals) imparts a bright white finish to the area.
Rhodium plating the white gold front.
To avoid the yellow gold areas from being turned white during the plating they have to be masked with nail polish.
The upside of actually using white gold over just plating yellow gold is that once the plating wears off the white gold you still have a whitish grey colour. With plated yellow gold you have yellow.
The final steps
Hallmarking the pendant.
Nearly at the end and the pendant is ready for hallmarking. With a little pendant like this using a punch or pliers to hallmark will damage it. I used a machine engraver in this case.
The most inglorious task, gluing the pendant.
The final step is to glue the setting to the pearl and let it set for 24 hours.


All done. None of that extra thought in the design and creation of this pendant is visible from the front and that is the intention. I would like to thank this customer for understanding that the piece needed to be made properly and was not as straight forward as it might appear.
A cautionary tale
Some earrings not made properly by someone else…..disaster.
The reason why I went to so much trouble with the back plate to add strength to the setting is that glue is all that supports pearls to their settings. Without a correct pin and enough surface area to grab ahold off the pearl could come free.
Here is a link to the article about the above earrings from quite a few years ago. Poorly made earring with short posts that did not match the pearl hole size and the pearls just kept coming off. Buy nice or buy twice :)
Article: Doing the simple things right